

How to make and install floating shelves
First let’s start off with some common questions about floating shelves.
What are floating shelves?
Floating shelves are mounted to the wall and hide the support completely which makes them look like they’re floating.
Are floating shelves strong?
Yes! when installed correctly by installing directly to studs in the wall using strong brackets floating shelves can hold a good amount of weight. Added strength if they are installed onto one side as well. There are various factors like shelf size, depth and amount of brackets used when installed and what brackets used.

Example of floating shelves installed to wall studs AND to a cabinet on one side.
These are very strong with this added support on the side.
Are floating shelves out of style?
No way! They are so versatile and are a beautiful way to add storage in the kitchen, bathroom, dining room, etc. They are great additions to cabinetry and offer a space saving storage option.
Okay lets get into how I make my floating shelves to look like one solid piece of wood.
Depending on the depth of the shelves and what is planned to store on them will decide the plywood thickness I use. For depths of about 6 inches or less and if planning on using them for decor (so not a ton of weight) I will sometimes use 1/2 inch plywood. This also allows for a smaller height for a skinnier look. For depths above 6 inches and/or planning on using to store heavier items 3/4” plywood is what I’ll use.
Materials used
3/4” plywood
Wood glue
Metal L Brackets - I love these!
Painters tape
Nail gun
Drill
2.5” or 3” wood screws
1 1/2” trim screws
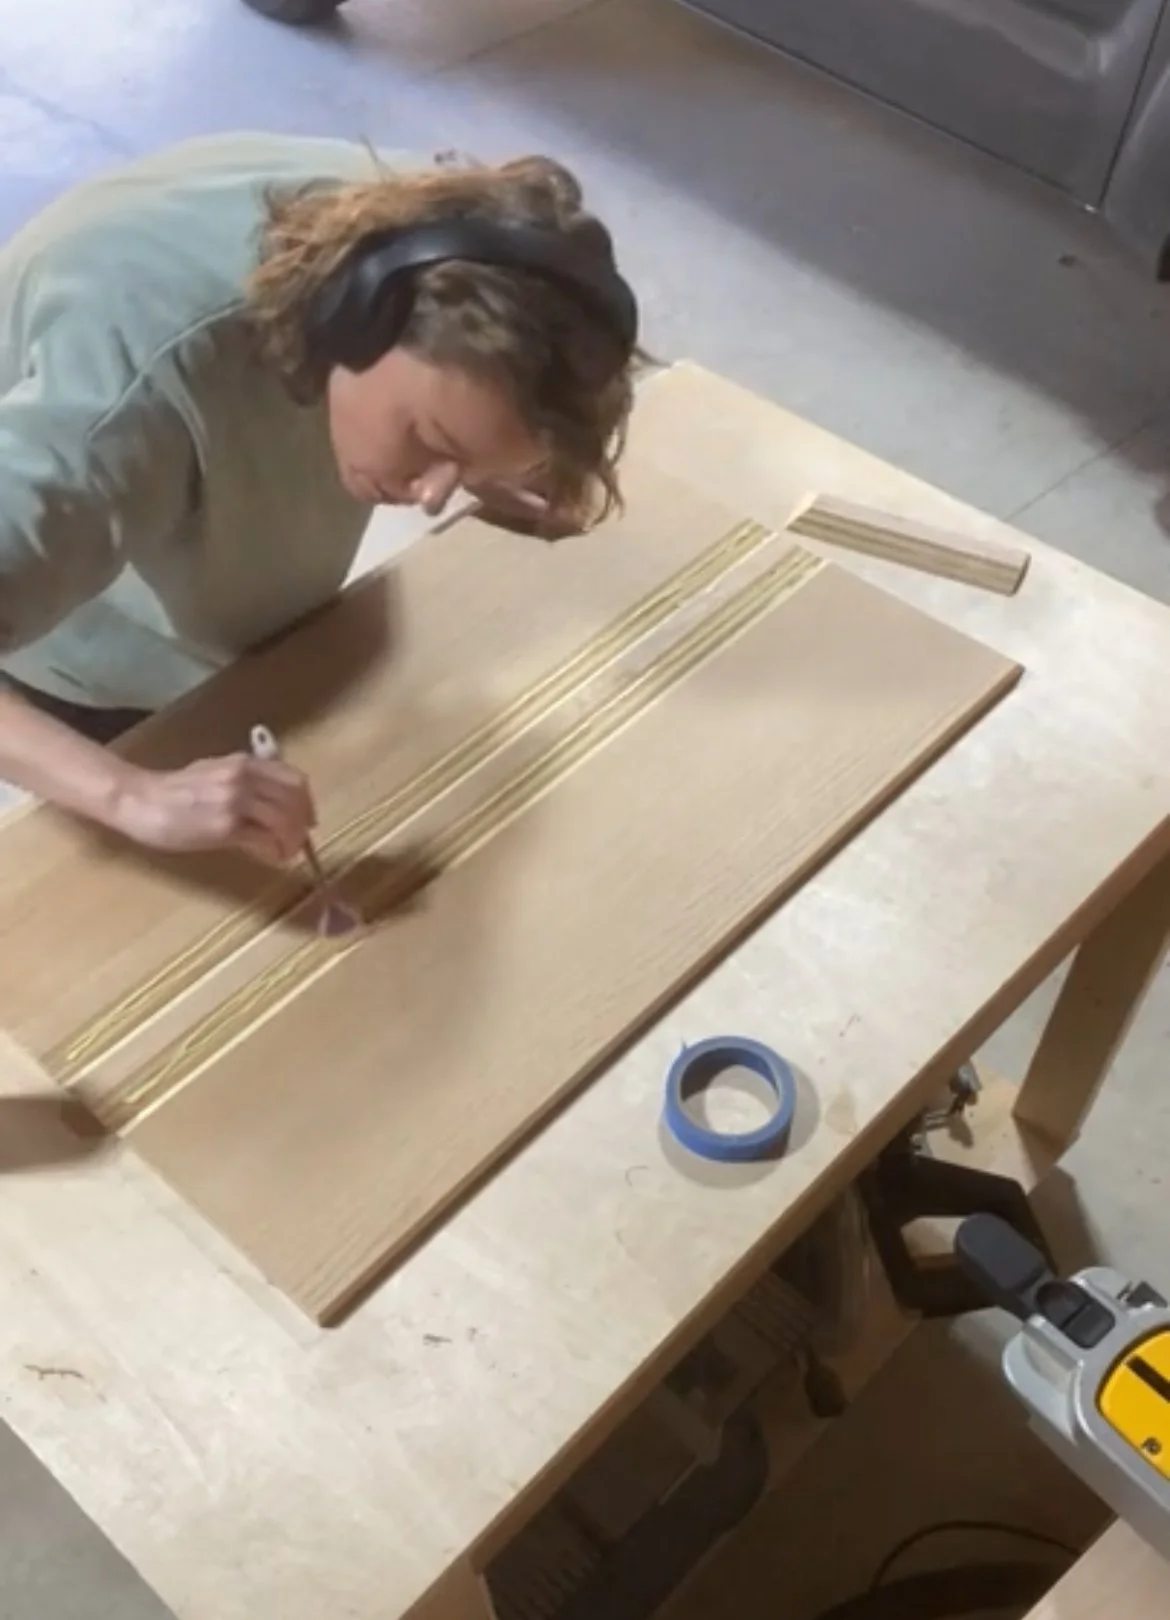
Step 1 - Making the plywood cuts
Figure out the dimensions of the shelves you want. In my case they are 9 1/4” depth x 34 1/2” length x 2 1/2” height. I cut the top and bottom to size with the grain running horizontally on all pieces. I use my circular saw with the track attachment to size - 9 1/4” x 34 1/2”. I then cut to size the side piece - 9 1/4” x 2 1/2” and the front piece - 34 1/2” x 2 1/2”. The support pieces will be ripped down to 1” (I just use leftover plywood for these pieces).
Step 2 - Miter edges
Next I miter the edges that will have the folded over look by running the plywood pieces through my table saw set to 45 degrees. All sides will need to be mitered at 45 degrees other than the sides that go against the wall or cabinet flat.
Step 4 - Glue up
Glue Up
First I set up the shelf flat with the miters facing up and add tape so I can fold the bottom miter into the front piece which then folds into the top piece. Same for the side piece but I do this after the top and bottom are folded.

Fold over
Using wood glue on all the mitered edges I then fold the pieces over and re-adjust the tape as needed to get a really tight joint. I use 1” spacers for the glue up and nail with my brad nailer any miter joints that need to be held a bit tighter than using just the tape.
TIP: Once the glue dries I take a screwdriver and use the round part to gently go over the miter joints to push the edges together.
Then I lightly sand the whole shelf and the edges. Then finish as desired paint or stain and poly.
Step 4 - Install
The 1” support piece is what the L brackets will attach to. So for my case I cut the wall support piece down to just under 33”. I also cut down a couple 1” pieces to just under 8 1/2” this adds support and keeps the shelf shape along with the brackets. I used two brackets and went into 2 wall studs - Google says about 50 lbs. per stud is the weight these shelves can handle - so 100 lbs. I can hang off these though and I’m more than 100 lbs :)

Wall support piece with the brackets added horizontally.
Metal brackets come out from the wall 7” and the hole at the elbow is where the screw goes into the stud. The rest are just going into the wall support piece of plywood so use 1” screws here.
I also added the support piece on the right side into the cabinet. Make sure everything is level!

Arrow pointing to the elbow
This is where the screw goes into the wall stud.
Step 5 - Add the shelf
The shelf is hollow so it will fit right over the brackets you just attached to the wall. I don’t use wood glue just in case you want to remove later. I also use trim screws to attach the shelf to the plywood support pieces against the wall on the top left, middle and right. Also one to the support piece against the cabinet. And that’s it, these should fit nice and snug so NO wiggle to them.

Sliding the hollow shelf over the brackets and side support piece

Thats it!
I used 3/4” red oak plywood and stained with a mix of Minwax water based stains (1 part weathered oak and 2 parts special walnut) and finished with 3 coats of Minwax poly in Matte.
Check out my reel showing how I make and install these too