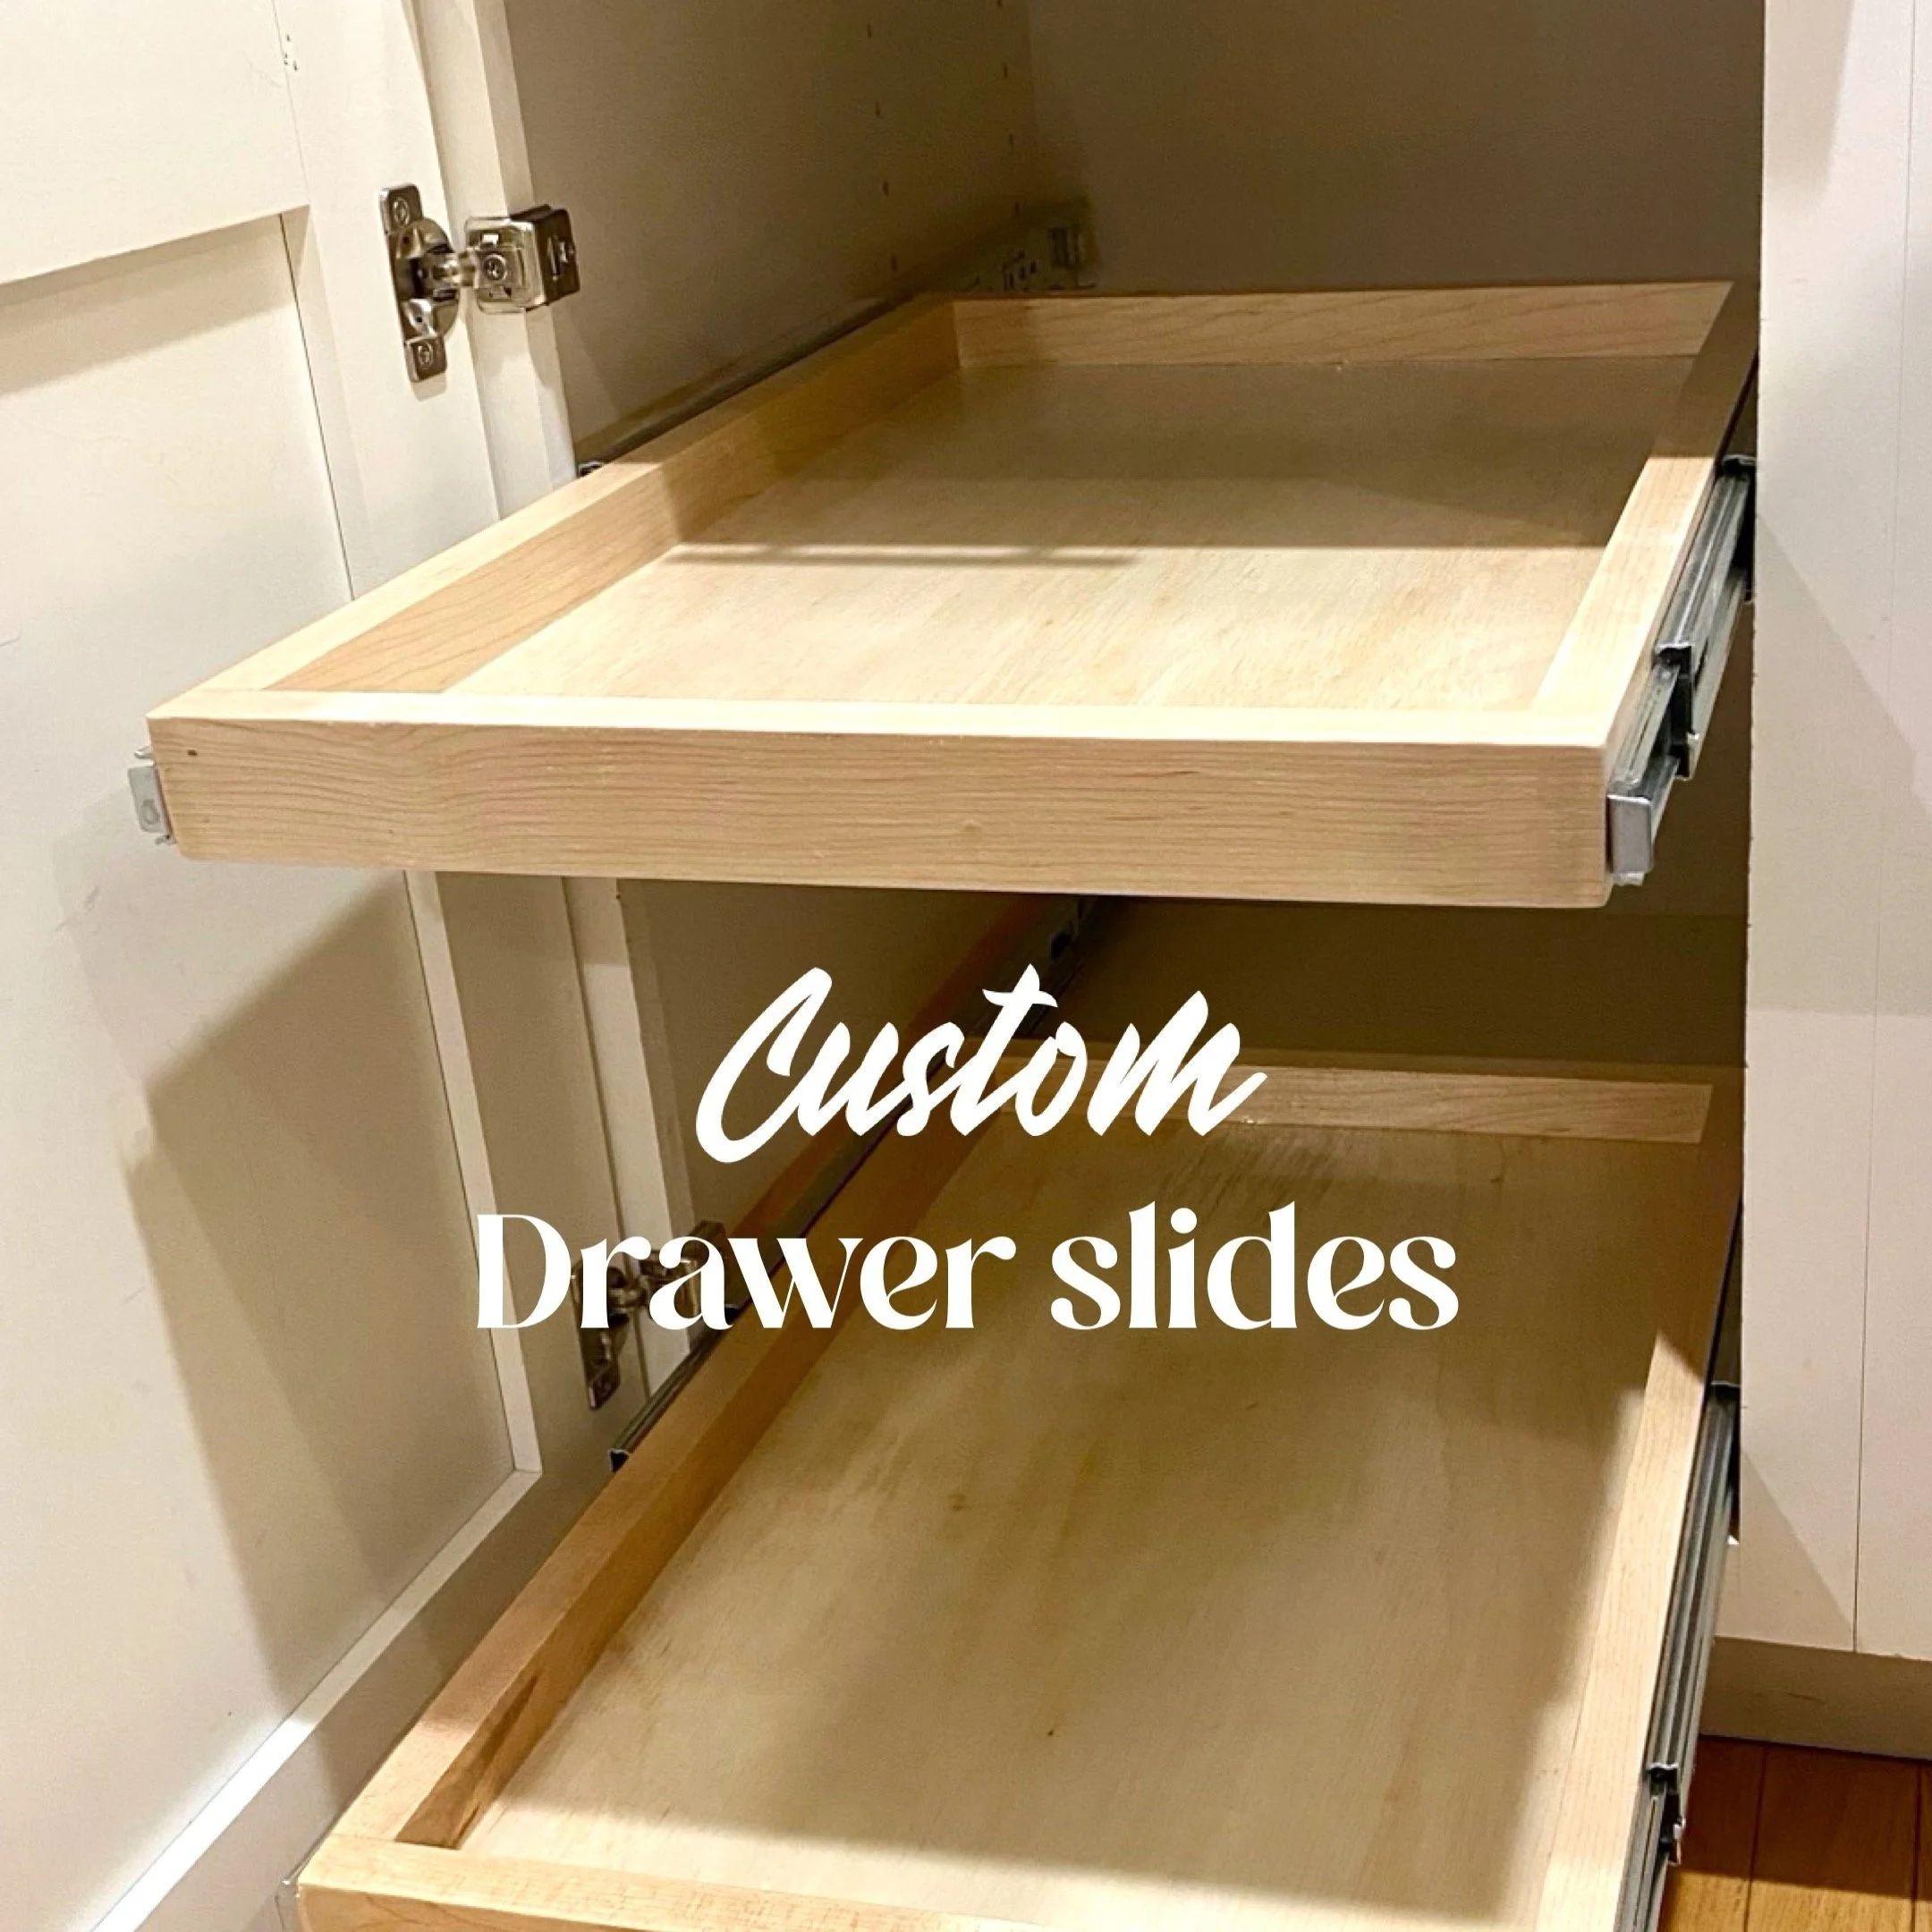
How to make custom drawer slide outs for your kitchen cabinets
This tutorial will give you a quick rundown of how to take any of your kitchen cabinets and customize them to your needs with drawers. First figure out which cabinet is a good fit for pull out drawers - think pots and pans or small kitchen appliances. Anything that’s been getting lost in the back of your cabinets these sliders can help!
Materials
Tools used
1 1/4” brad nails
Router and bit to make 1/4” groove or use a table saw
Miter saw
Clear matte poly
Step 01 - Measure your cabinet
First measure your cabinet, this one is an 18” cabinet so the inside width (between the face framing) is 15” wide x 22 1/4 depth x 20 1/4” height. This allows for me to fit 2 drawers with the pots and pans I’m planning to store here. Drawer slides take up 1/2” on either side so just subtract 1” from your total width. In my case that’s 14”.
Step 02 - Make your cuts (List based off 18” kitchen cabinet)
(2) 1” x 2 x 14” maple
(2) 1” x 2 x 20 1/2” maple
(1) 1/4” x 13 1/2” x 20” plywood
(1) pair of 22” full extension drawer slides
(2) 1 x 2 x 22” spacers (soft or hardwood)
Step 03 - Cut your grooves for the drawer bottoms
I used my router table for this with 1/4” bit to make the grooves. This can also be done on the table saw by adjusting the fence slightly and running the board through a couple times to make the 1/4” groove.
Step 04 - Assemble
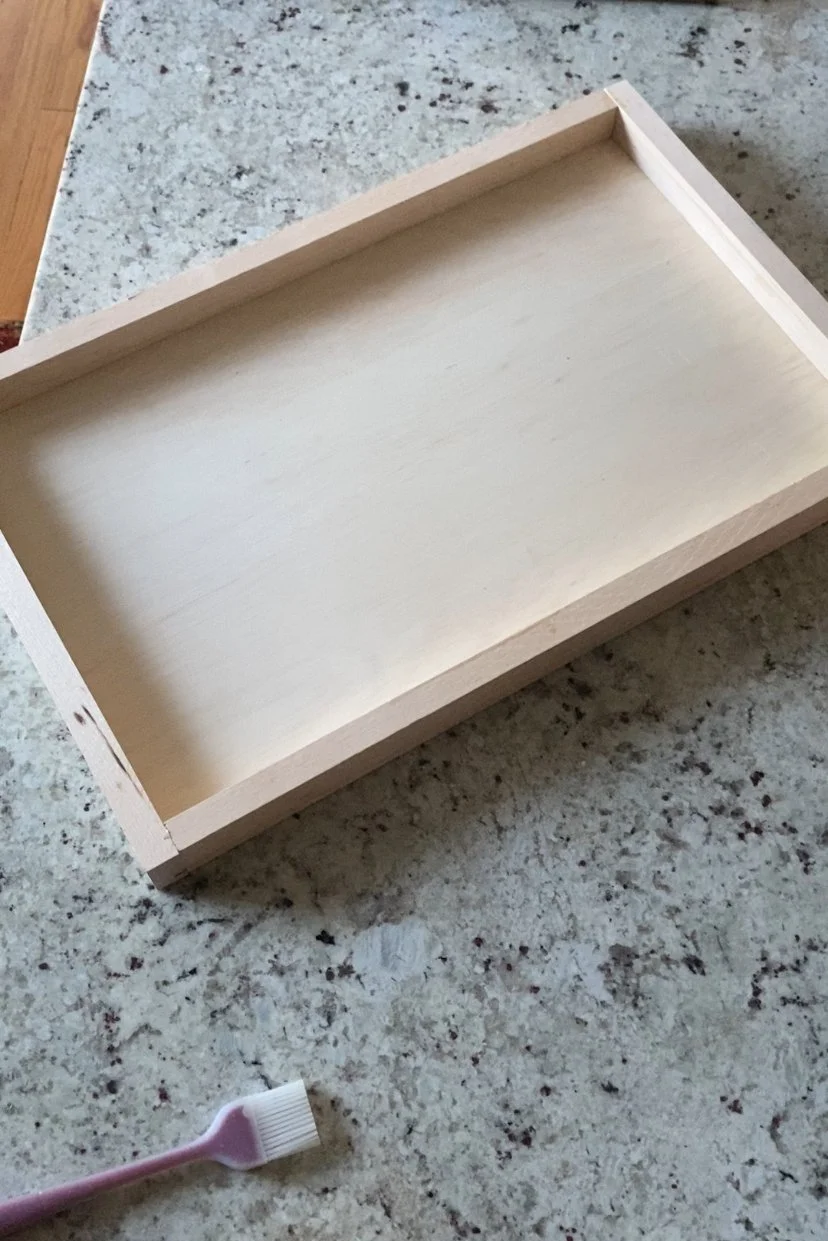
I used wood glue and my 18 guage brad nailer with 1 1/4” nails to put these together. Simply add a little wood glue into the grooves and add the 1 x 2 pieces to the sides with glue to create your box and enclosing the 1/4” plywood. Once it’s all square I used my nailgun to secure the pieces in place while the wood glue dried.
Your assembled drawer should look like this.
Step 05 - Finish with a coat of polyurethane
I love the look of Minwax waterbased clear poly in matte. I applied 3 coats of this to protect the drawers. I usually wait a couple hours between coats and after the first coat do a light sanding.
Step 06 - Install
Grab a couple pieces of scrapwood to use as spaces to make the install a little easier. I started with the bottom drawer first. Use a spacer board that allows for enough clearance to open the drawer over the bottom face frame.
Start with the spacers on either side.
These are the same length as your drawer slides. Place your 1x2x22 board on top of your spacer and attach to the inside of the cabinet with 1 1/4 - 1 1/2” wood screws. Do this on the other side as well.
Since these are both at the same height you can attach the outside of the drawer slides to these boards, check with a level.
When installing the inside piece of the drawer slides I lined them up with the bottoms on each side. This makes sure it’s level on the drawer.
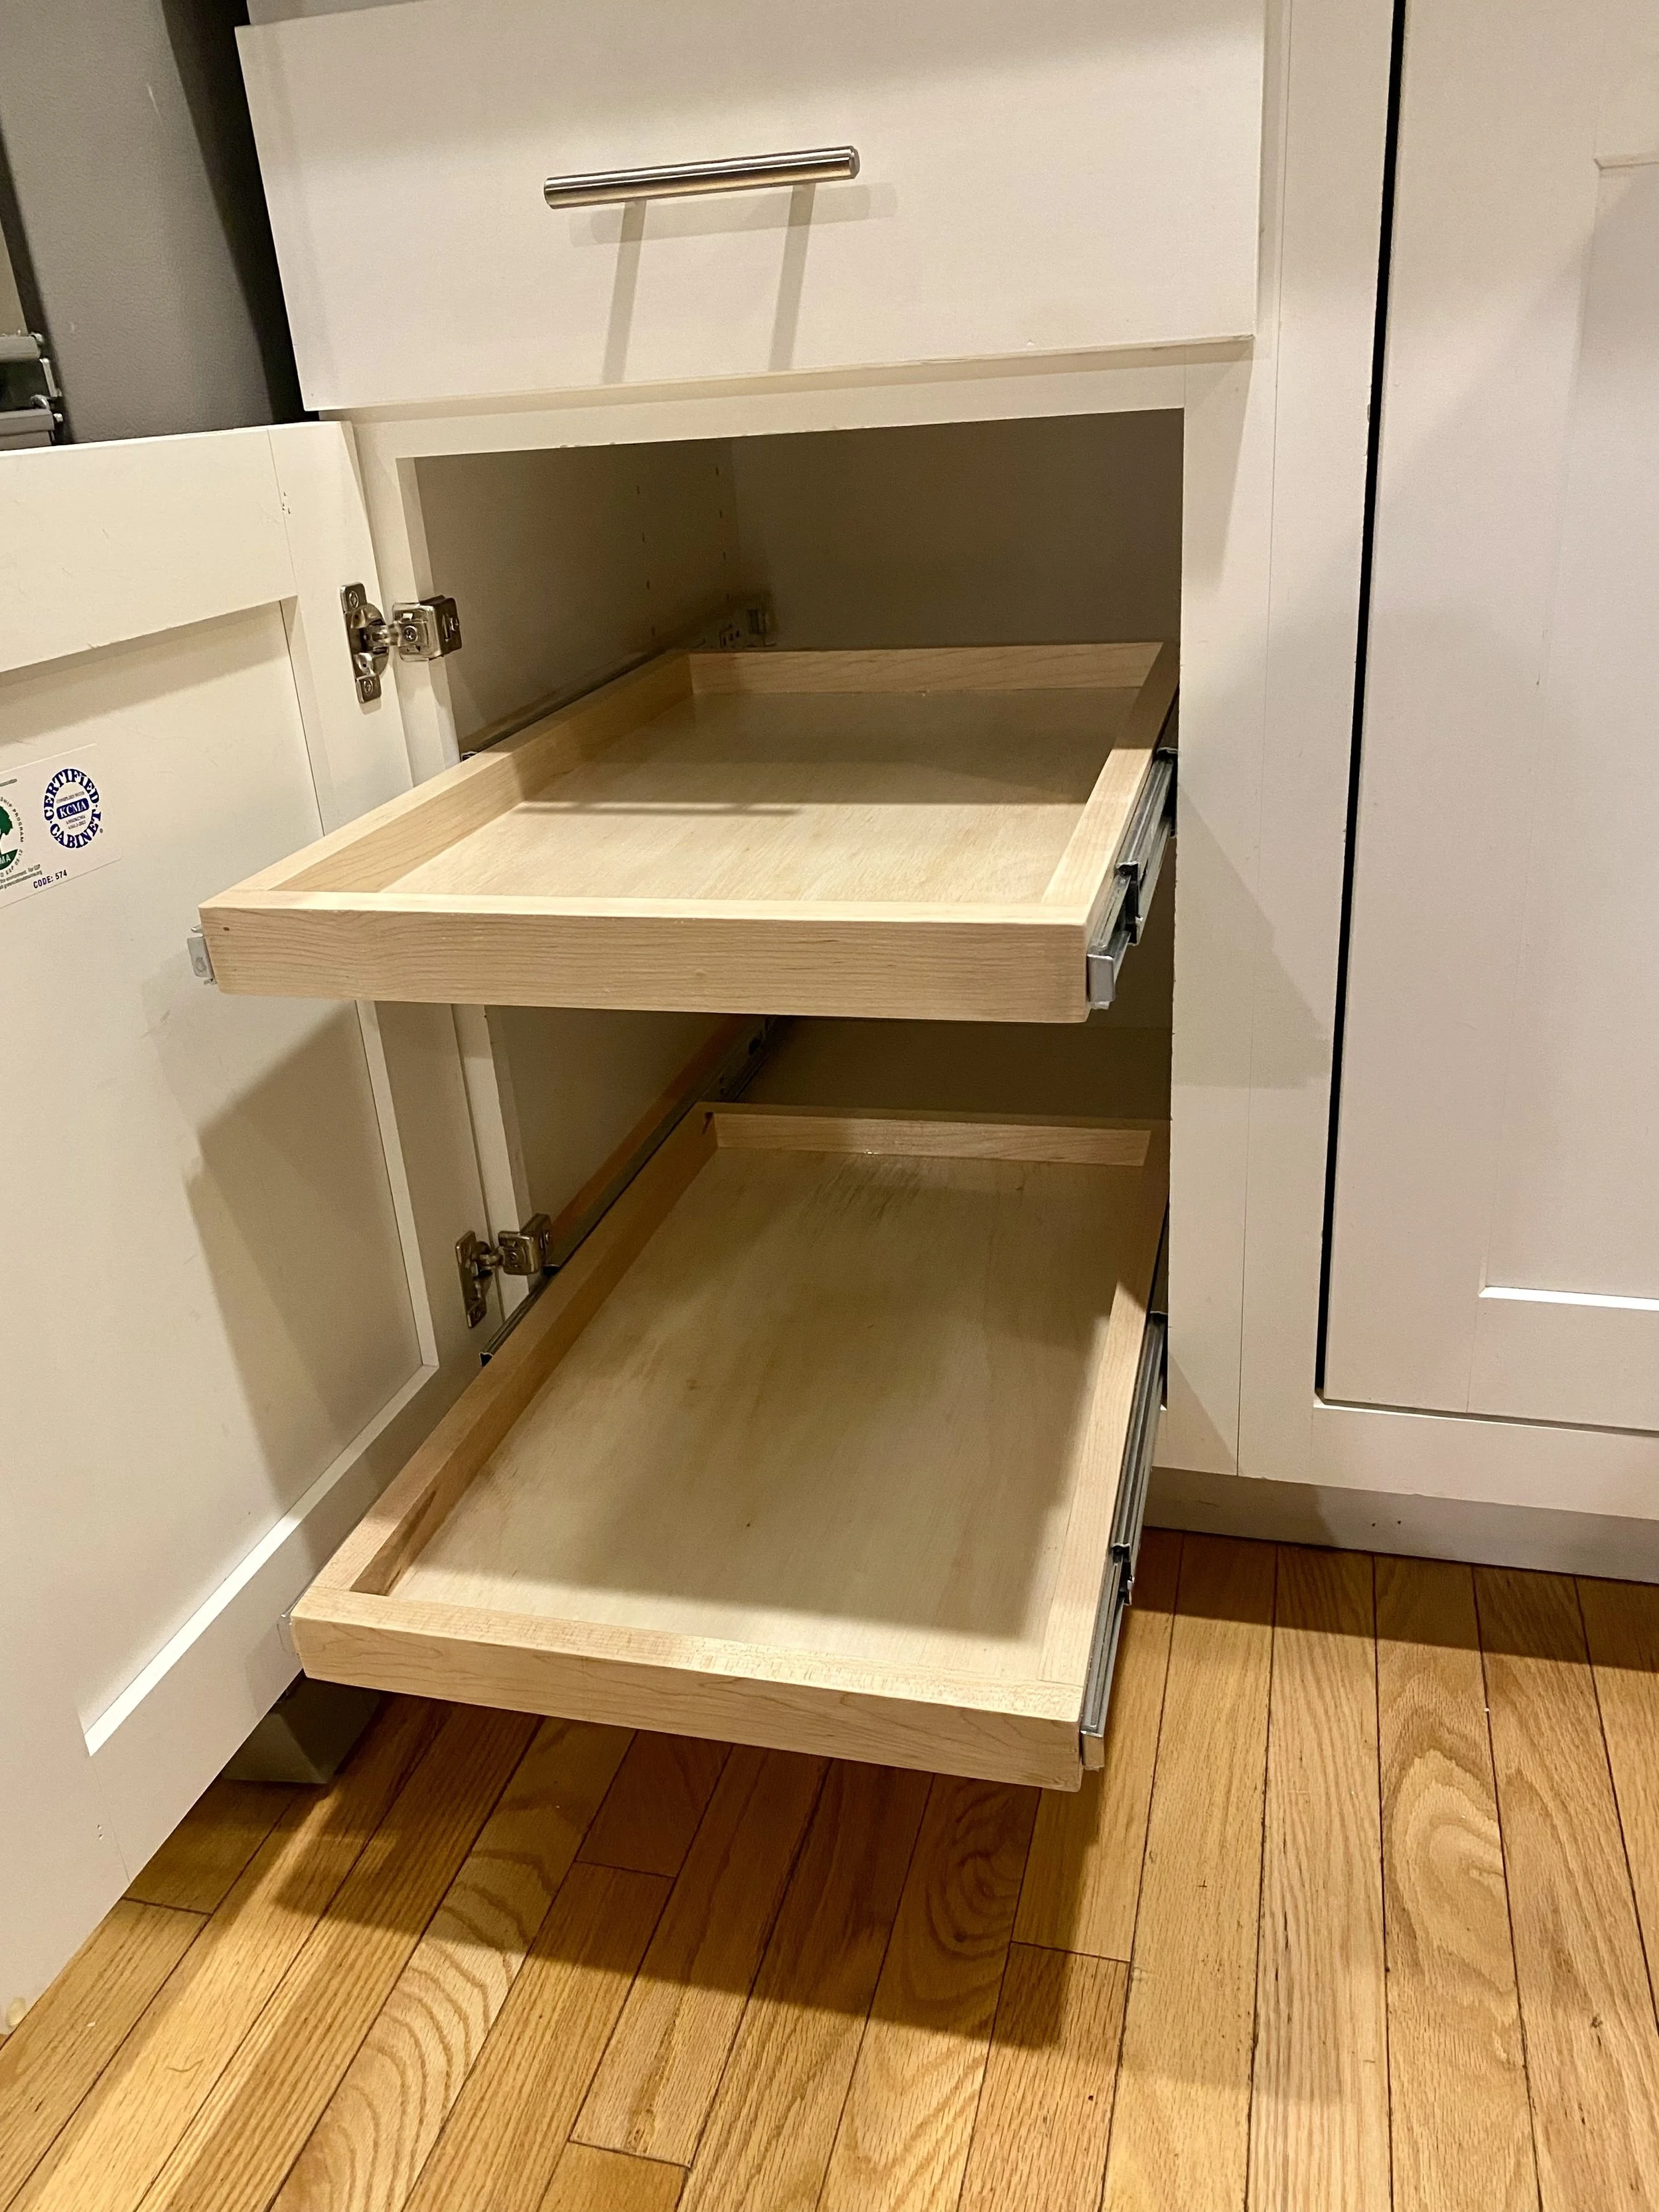
Now simply slide your drawer in until you hear it click and test it out!
If installing another drawer just repeat the process at the desired height you like.
Hope this helps!


